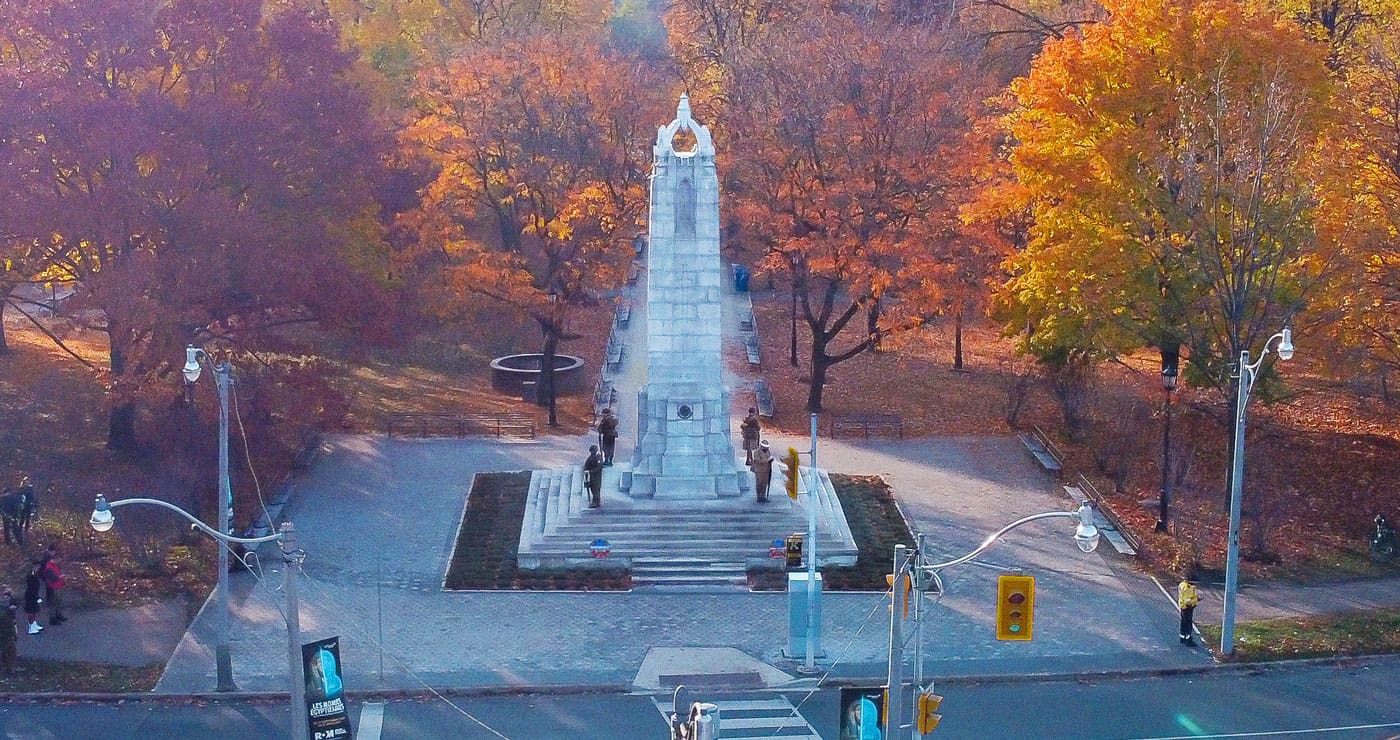


Soldier posts
The Letters and Diaries page of this web site is used to present images and related transcriptions of letters associated with members of the 15th Battalion. (On the site menu click Archives then Letters and Diaries.) This page presents a list of soldiers. Each soldier post can have one or more letter posts attached to it.
Process overview
It is essential that you create the soldier post first. Essentially all you have to enter is the soldiers name in the title and his first and last.
Then create the letter post. Since you have already created the soldier post, you will be able to complete the “related soldier” field on the letter post. Note that, when you complete the “related soldier” field for the letter post, the corresponding field in the soldier post will be automatically created.
Adding to the web site
Enter data and text
Start by creating a new “soldier” post. After logging in, you are taken to the web site dashboard. On the left hand side of your screen is the admin menu. Look for the “Soldiers” menu, hover over it and click “Add new soldier”. Complete entering data on the screen as follows:
Title
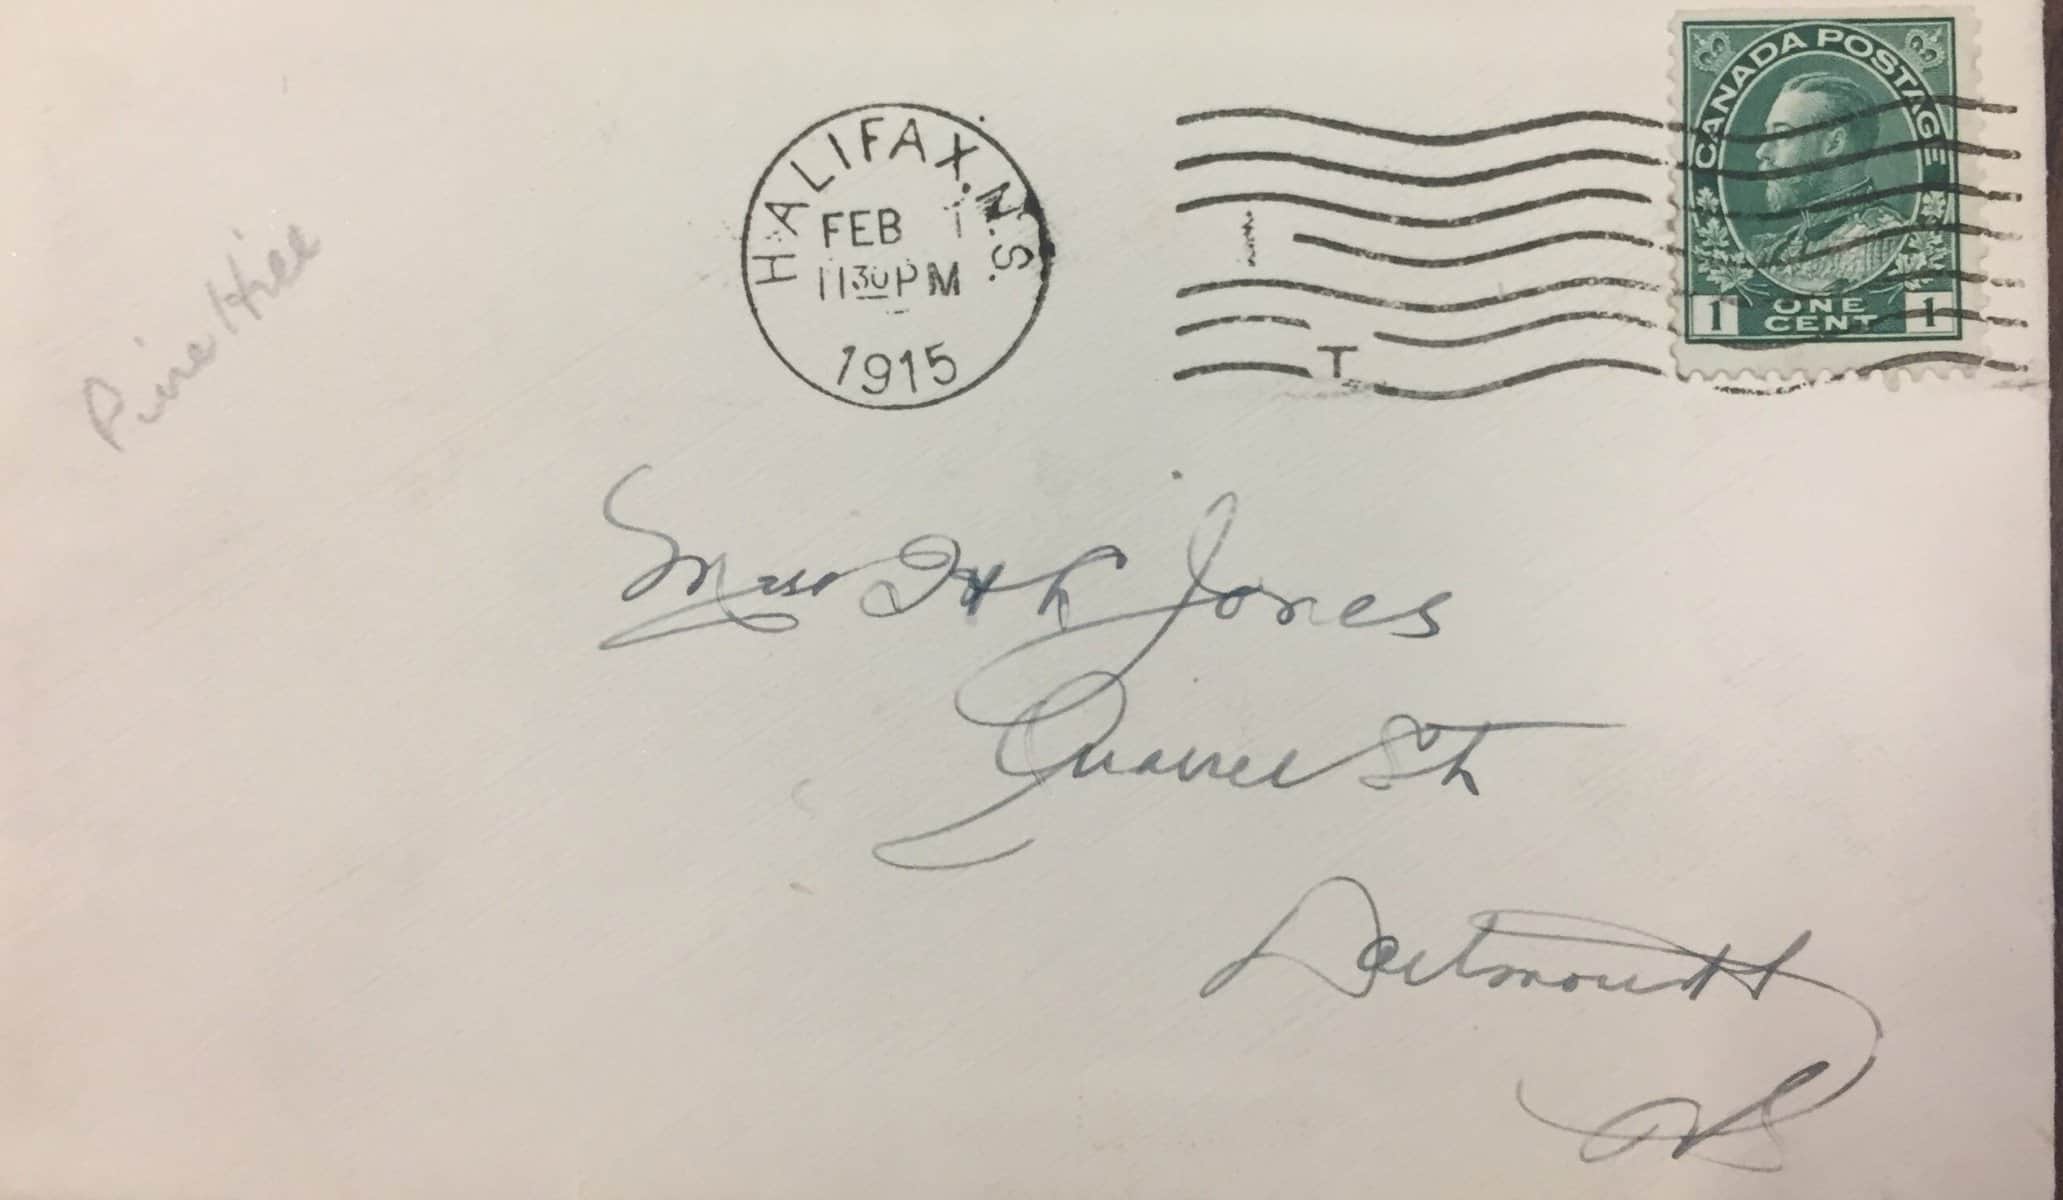
Enter the name of the soldier in the format: service number, rank (abbreviated) and complete first and last names.
Surname and first name(s)
These MUST be input because the system does not know how to extract these two elements from the title.
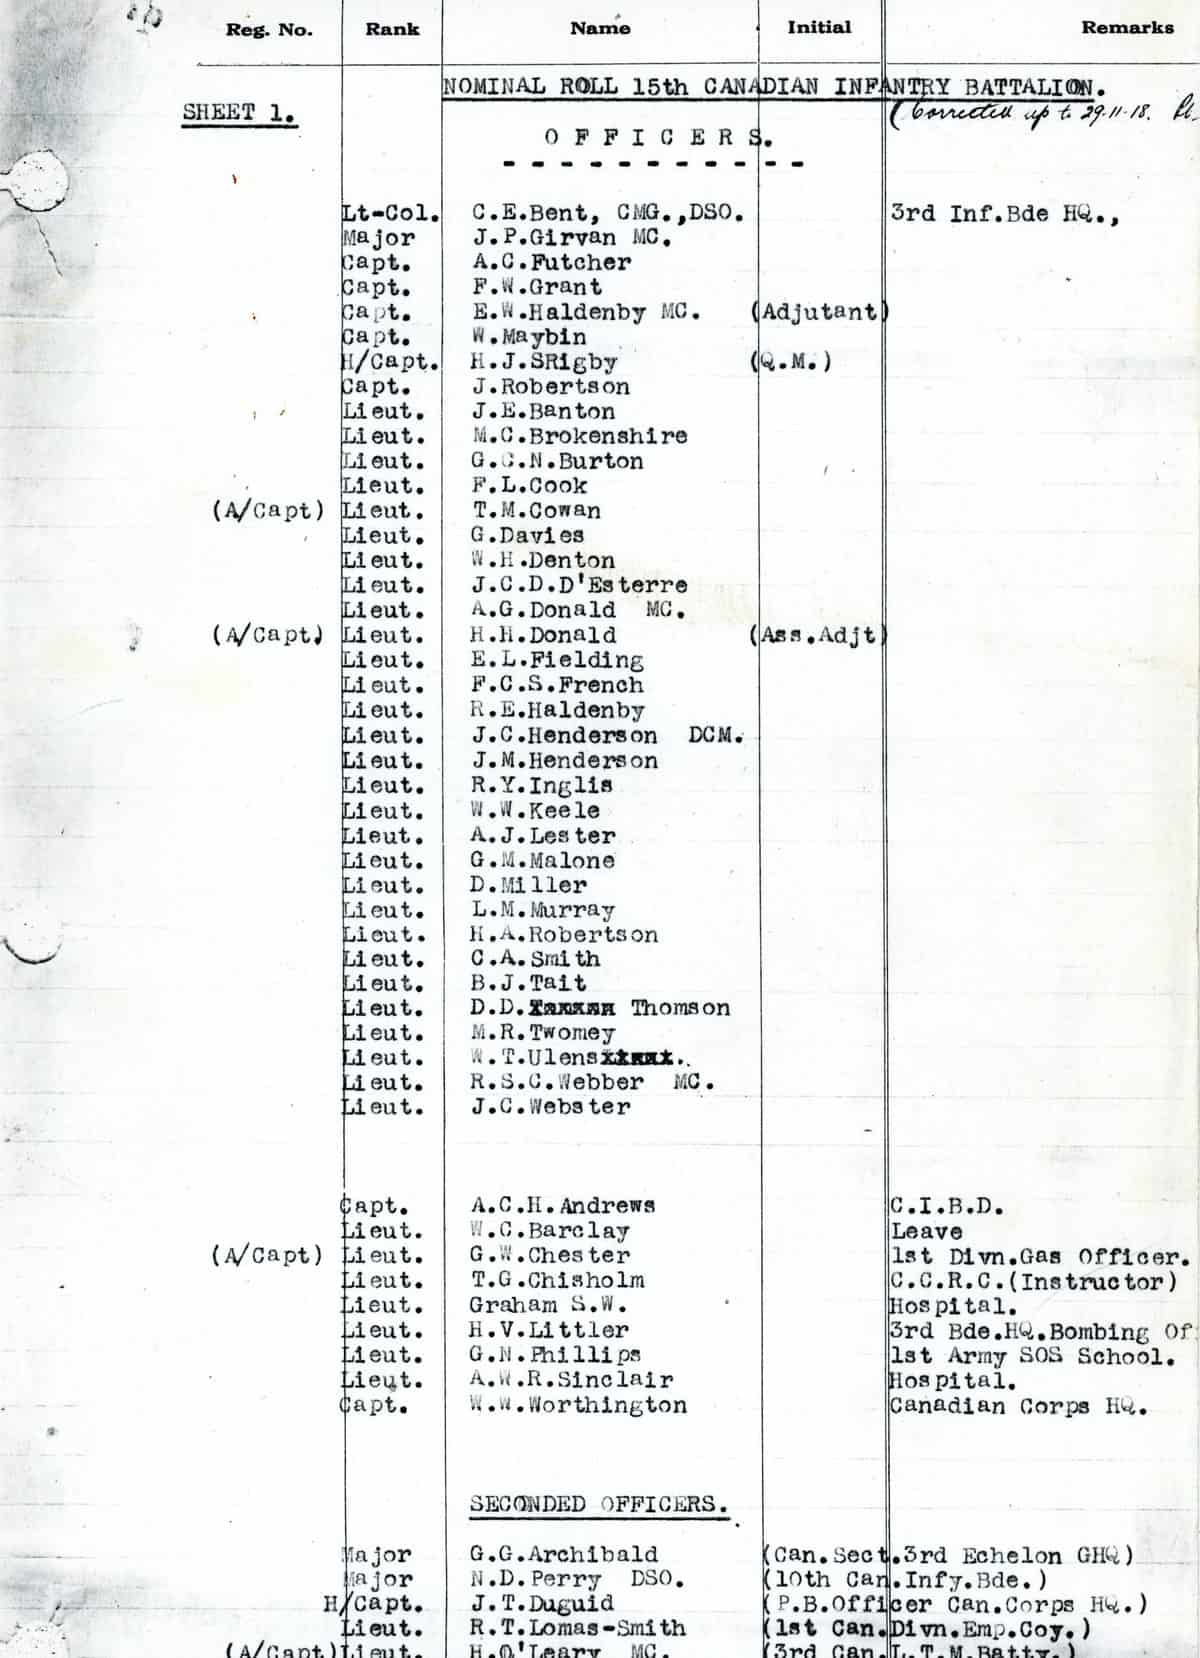
Museum link to soldier
To get this link, go to the Museum web site and navigate to the soldier’s record in the database. This step has been automated: simply click the Go to museum site button in the upper right corner of the add/edit screen. The museum site will open with a list of all of the soldiers in the museum database with the same last name. Click the name of the soldier whose name you want to link and the museum page for that soldier will open. In the address bar at the top of that soldiers page, copy the URL of the page and paste it here.
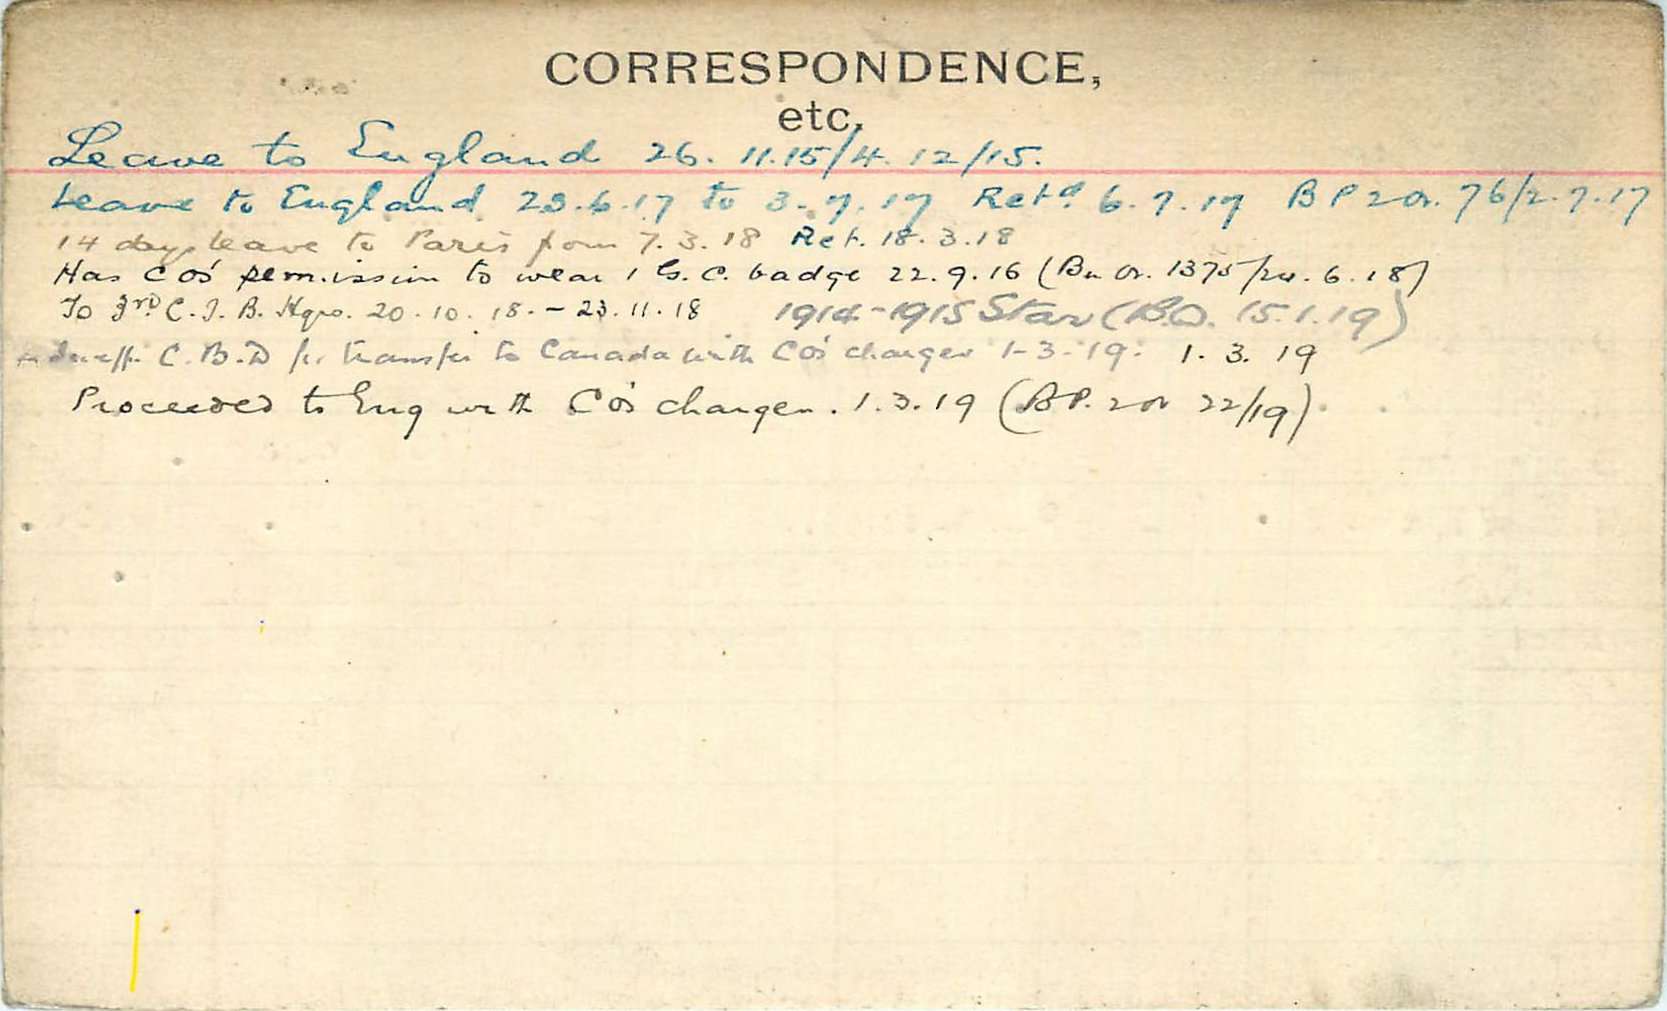
Linked letters
This link cannot be created until you have created one or more letters that are associated with this soldier. In fact, when you create the “Related soldier” field on the corresponding “letter post”, this field will be automatically updated.
Featured image
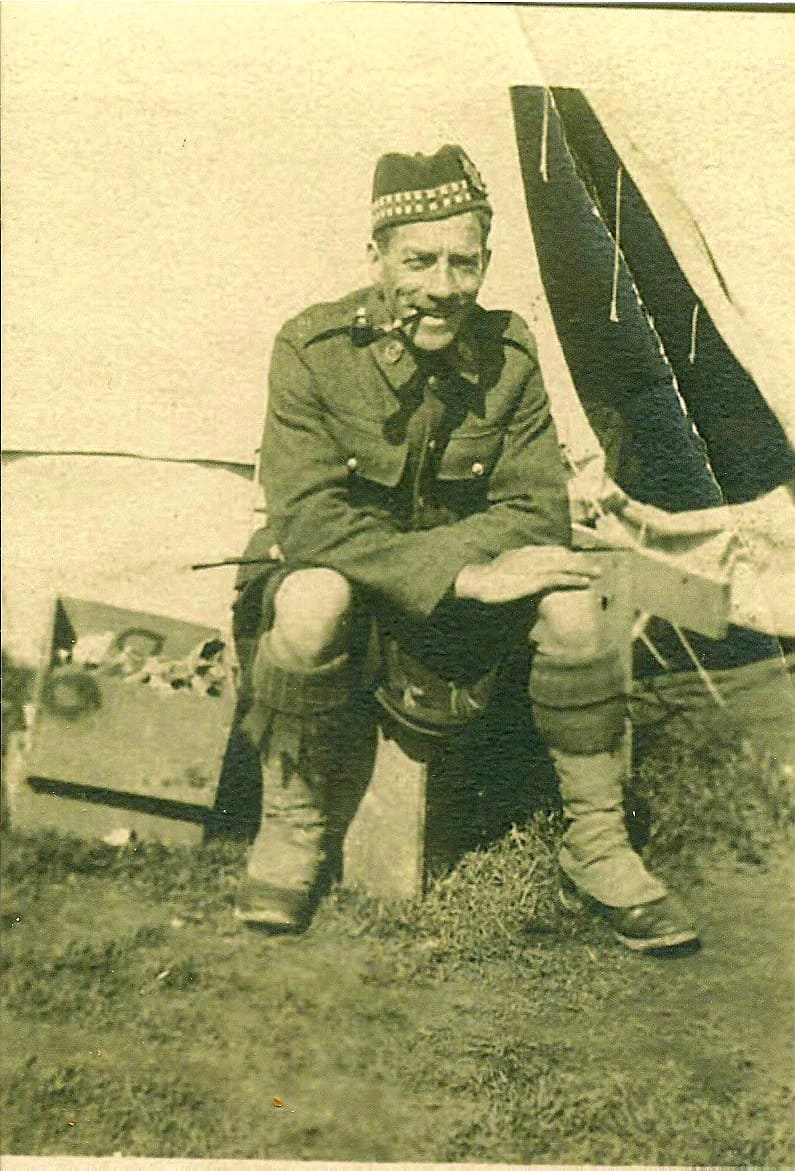
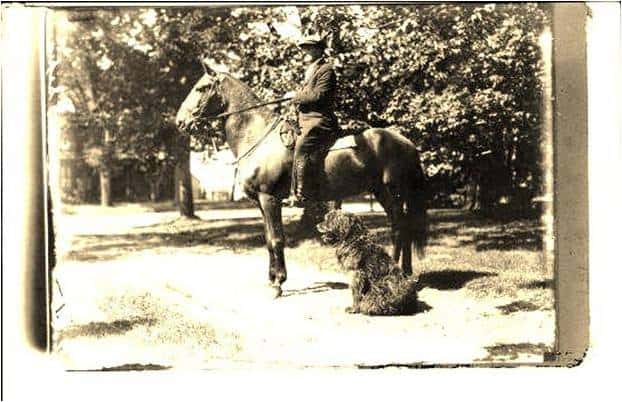
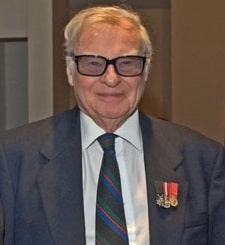
The featured image for a soldier will be a photo of the soldier. On The right side of the screen is a “featured image” meta box. Click Set featured image. Search for an image of this soldier using their last name or service number. Click on the image you want and then click Set featured image at the bottom of the screen. If there is no image on the web site then just close the featured image screen (click the X in the top right corner of the screen). The system will automatically add a “no photo available” icon to this post.
Publish
IMPORTANT: Press the Publish button before leaving this screen. If you fail to do so, you will lose everything you have input. You only have to complete the required fields (marked with a red *) before you press Publish. When you come back to this post, the Publish button will be labeled Update.